It was 6 pm when our guests arrived, the kitchen was in total chaos as I was just into the second stage of soaking the gelatine for the marshmallow layer of this amazing Wagon Wheel Slice. Luckily Kathy came to my rescue and proceeded to add her capable attitude to my kitchen to restore order to this room.
Wine was poured to accompany cheeses, fig pate, crackers and our very first home grown olives for the year which were now ready to enjoy. We all nibbled and talked while I soaked the gelatine for the marshmallow mixture. The first time the marshmallow didn't work so I threw it out and washed out the bowl to start afresh.
I soaked the gelatine for the next attempt at marshmallow which worked out fine. The gelatine/water mixture has to go firstly into the bowl before pouring the sugar on top.

Here is the marshmallow poured over the raspberry jam on top of the biscuit base.
We had plenty to eat anyway starting with nibbles followed by a fresh prawn entrée. After the main meal consisting of a mixture of delectable barbecued meats with potato salad, bean salad and coleslaw; dessert was not deemed necessary. Kathy had brought over her home made avocado ice cream but we were so full and could only try her green ice cream.
After dinner was cleared away we sat outside with the remaining wine plus a pot of green tea with the evening lit by a big candle as it was Earth Hour (no electricity for 1 hour) talking and laughing. The perfect Saturday night at home.

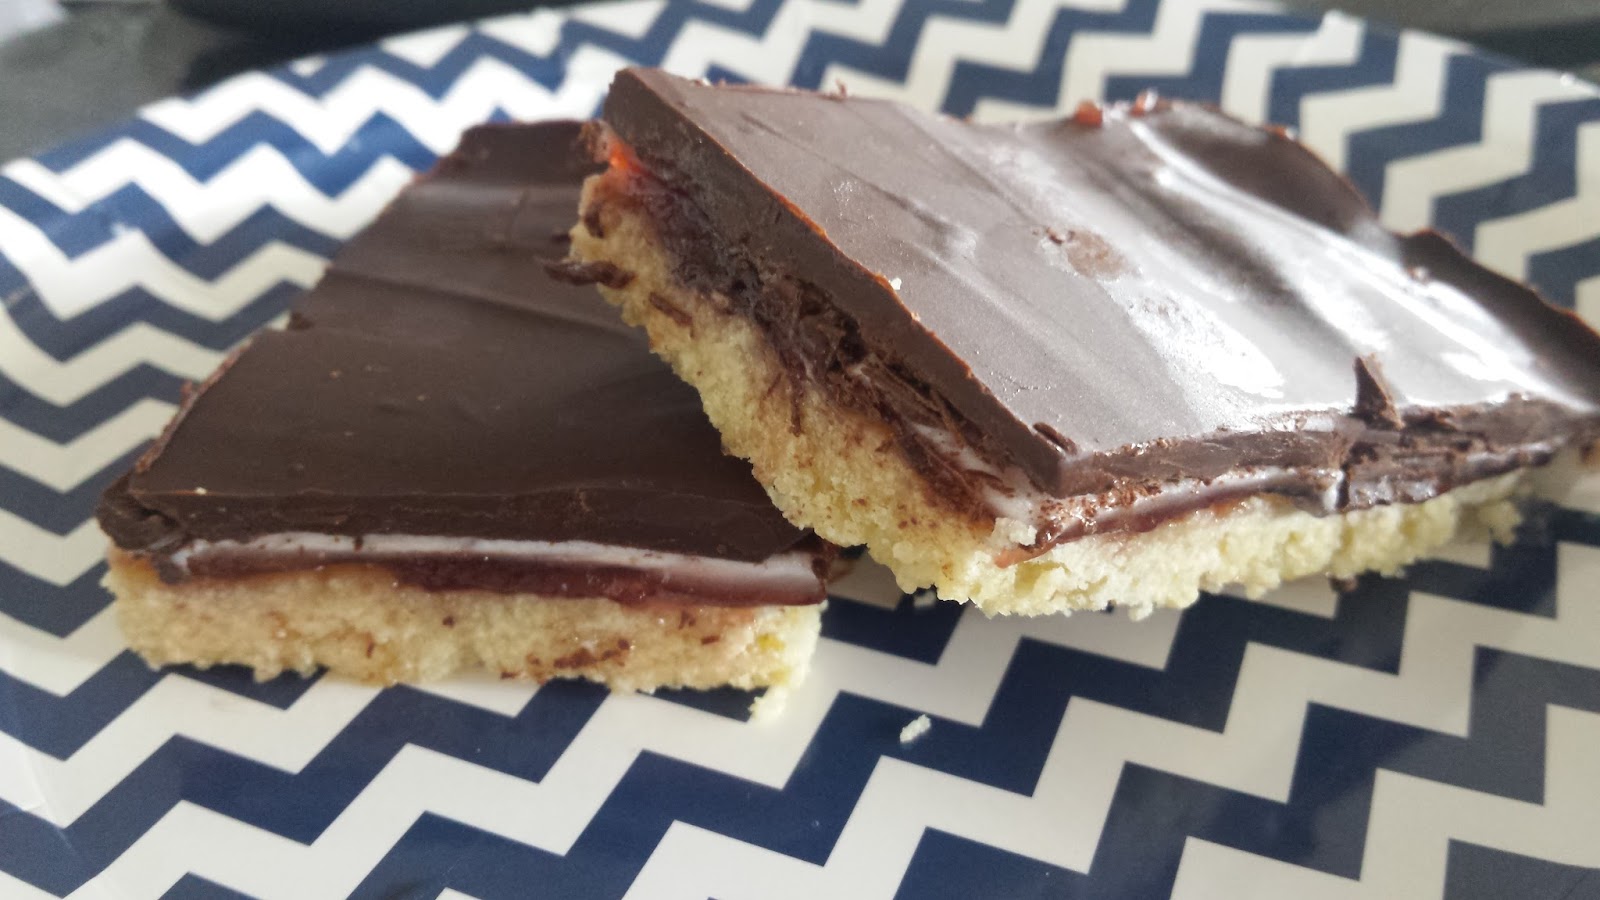
There was this amazing Wagon Wheel slice for morning and afternoon tea on Sunday taking over some for our friends claiming it was "last night's dessert".
I cannot take the credit for this recipe but certainly recommend it and for those who don't have a thermomix this recipe can easily be converted, i.e. food processor for the base, stick blender for the marshmallow with a glass bowl over simmering water for the melted chocolate (or microwave at 1 minute bursts at 80% power).
~~~~~~~~~~~~~~~~~~~~~
Wagon Wheel Slice Recipe (posted by Thermofun)
Ingredient
Base
- 60g unsalted butter cubed
- 60g caster sugar
- 1 egg
- 210g plain flour
- ¼ tsp baking powder
- pinch salt
Jam
- 1 cup raspberry jam (approx.) {N.B. I used 2/3 cup raspberry jam}
Marshmallow
- 3 tsp gelatin powder
- ½ cup water
- 200g caster sugar
- 1 tsp vanilla essence
Chocolate layer
- 200g dark chocolate {I used 70% dark cocoa cooking chocolate}
- 20g coconut oil
Base
Preheat
oven to 180°C/160°C fan-forced. Grease a 3cm-deep, 16cm x 26cm slice
pan. Line base and sides with baking paper, extending paper 2cm from edge on
all sides.- If using raw sugar for the caster sugar mill it at
this point (while you have a dry clean bowl) and set aside.
- Melt butter in TM bowl 1 min / 70° / speed 1.
- Add sugar and egg and mix 30 sec / speed 4.
Scrape down.
- Add flour, baking powder and salt 10 sec / speed
4. Scrape down. Mix again 5 sec / speed 4.
- Press mixture into prepared pan. Bake for 15
mins or until golden.
Top layer
- Grate chocolate in TM bowl 10 sec / speed 9. Scrape
down.
- Melt chocolate and coconut oil in TM bowl for 3
mins / 50° /speed 1.
- Scrape down edges and melt for a further 2 mins
/ 50° / speed soft.
- Pour melted chocolate on top of slice.
- Refrigerate 30 mins or until set. Stand 10 minutes
To clean Thermomix bowl:
- Pour a glass of milk in the TM and mix 5 sec /
speed 8.
- Heat milk 5 mins / 80° / speed 4.
- Enjoy warm chocolate milk.
- No wasted chocolate! :)
~~~~~~~~~~~~~~~~~~~~~~~~~
Have you too had dessert the following day and
is this Wagon Wheel Slice reminiscent of your childhood?
Buon appetito, enjoy Merryn xx


