Sunday, 27 April 2014

Paris Brest

A delightfully stunning dessert


This is a simple yet elegant dessert.
Everyone likes pastries and filled with creme patisserie
this is  gorgeous.


There is so much fun in baking to keep one amused and the family, well fed.

Paris-Brest

Choux Pastry:

1 cup plain flour

pinch of salt

6 tablespoons (85 grams) unsalted butter

1/2 cup (125 ml) whole milk

1/2 cup (125 ml) water

4 large eggs, lightly beaten

For glazing:

1 egg, beaten

1/2 cup (50 grams) shaved almonds  (I used chopped almonds)

Preheat oven to 400 degrees F (200 degrees C) and place the rack in the center of the oven. Line a baking sheet with parchment paper. Draw an eight inch (20 cm) circle on the parchment paper to use as a guide when piping the choux pastry.  Pipe the pastry onto the unwritten side of paper and place on a baking tray.

In a bowl sift together the flour, sugar and salt. Set aside.

Place the butter, milk, and water in a heavy saucepan over medium heat and bring to a boil. Remove from heat and, with a wooden spoon, quickly stir in the flour mixture. Return to heat and stir constantly until the dough comes away from the sides of the pan and forms a thick smooth ball.  Let cool.
When the dough is lukewarm, start adding the eggs, one at a time, and beat with a spoon until it is incorporated.  Continue until all eggs have been added and the dough is smooth

Transfer the dough to a large piping bag fitted with a large plain nozzle.  Pipe a 2.5cm  thick ring of dough on the paper 20cm circle.  Pipe another thick ring inside the first ring, making sure the rings of dough are touching. Pipe another dough ring on top of both of the lines, continuing until all mixture is used.  Brush the top with beaten egg. Sprinkle with the shaved or chopped  almonds.

Bake for 15 minutes and then reduce the oven temperature to 350 degrees F (180 degrees C). Bake for a further 35 to 45 minutes or until the Paris Brest is a golden brown color, puffed, and crisp. Turn the oven off and, with the oven door slightly ajar, let the shell dry out for 5 minutes. Remove from oven place on a wire rack and split in half horizontally.  Let dry.


Creme Patisserie

2 cups milk
4 egg yolks
1/3 cup sugar
1/3 cup cornflour
1 whole vanilla bean.

Place the milk and vanilla bean in a saucepan and bring almost to boiling point.  Remove from heat.
Place sugar, cornflour and egg yolks in a bowl and whisk together until well combined.
Pour the hot milk in a steady stream into the egg mixture, stirring continuously.  Remove vanilla bean.
Pour this back into a clean saucepan through a sieve and bring to a simmer.
Continue to simmer for about 5 minutes until the mixture is thick.
Turn off heat and place glad wrap onto the surface to prevent a skin from forming.   Let cool.

To Assemble:  Spoon the creme patisserie onto the bottom half of the pastry.  Place the top half of the pastry shell on top and dust with powdered icing sugar.

Makes one large 8 inch (20 cm) Paris Brest.


So tell me please,
where would you suggest to holiday this year .... Thailand or Vietnam?

Buon appetito, Enjoy, Merryn


Monday, 14 April 2014

Merryn's Menu: Pavlova - Home Made and Fool Proof

Merryn's Menu: Pavlova - Home Made and Fool Proof: Perfect Pavlova When you leave the supermarket car park there is a sign stating  "trolley wheels will lock if taken past this ...

Pavlova - Home Made and Fool Proof

Perfect Pavlova


When you leave the supermarket car park there is a sign stating 
"trolley wheels will lock if taken past this point ".
Every time I see this I am tempted to push a trolley past this point
just to see if the trolley wheels really will lock.

Yesterday I had customers who had come to collect their order
and knowing they did not drive I was intrigued as to how they would get their 2 x 20kg boxes home.

Out the front of our shop proudly stood a borrowed trolley.
"The Coles ones lock but not the Woolworths or Aldi trolleys" I was informed.

So now you too know, some trolley wheels lock when taken too far from the shop.
If only all questions were as easy to answer as this one.

A friend asked me recently how to cook a pavlova that is hard on the outside yet soft on the inside.
Here is my response and I trust these guidelines are helpful;

Pavlova Recipe

5 egg whites (185 gram in weight)
185 gram castor sugar
4 teaspoons white cornflour
1 teaspoon white vinegar
# See note below

Preheat oven to 150 Celsius.
Separate the egg whites from the yolks and weigh them.  (I used the yolks to make Zabaglione)
Here I used 5 egg whites with a total weight of 185 grams.
Put these into your mix master and blend at high speed for about 3 minutes, or until soft peaks form.

Measure out an equal amount of castor sugar (185 grams) and add 1 tablespoon at a time to the egg whites. 
Do this at about 30 second intervals to ensure the sugar is incorporated, until all of the sugar has been added.
Make sure there is no sugar stuck to the inside bowl, you want it all mixed well.

Continue to beat on high for another 3 minutes.
Rub a little mixture between your fingertips to make sure all of the sugar is "dissolved" in the egg mixture.

Take out bowl, add 4 teaspoons cornflour and 1 teaspoon white vinegar and gently fold through.

Place on paper lined tray and place on the bottom shelf of the oven.  
Cook with only top element on, or as with my oven, I can cook with fan only (NOT fan forced but just fan).

Rotate tray after 20 minutes  Bake for approx 40 minutes total until the outside is a light golden brown and the inside is still soft.
Remove tray from oven and let pavlova cool on the bench.


When cool - Decorate with whipped cream and fresh, seasonal fruit.
Here I used just picked passionfruit, strawberries and bananas.

#  Note:  If using 4 egg whites, approx 150 grams, add 150 grams castor sugar, 3 teaspoons cornflour and                 1 teaspoon vinegar, cook for approx 35 minutes.

Buon appetito, Enjoy Merryn

Saturday, 5 April 2014

Merryn's Menu: Garden Share Collective ~April 2014

Merryn's Menu: Garden Share Collective ~April 2014: The slow transition through Autumn between Summer and Winter seems to last forever. The rain this Autumn has been welcome and very refres...

Garden Share Collective ~April 2014

The slow transition through Autumn between Summer and Winter seems to last forever.
The rain this Autumn has been welcome and very refreshing.

Autumn equals Avocados


Avocados actually ripen when picked from the tree.
They mature on the tree and can last for up to 18 months 
as the tree 'preserves'them.
They only ripen when separated from the tree.
This variety is a Secondo, it is a semi dwarf variety (a cross between Hass and Bacon Avocados).


This is a late season watermelon.
My husband puts an upside down pot over it when the chickens are free ranging.
We plan to eat this one!


Kourusagi (Bunny) under the avocado tree.


There are still tomatoes ripening and we have had a mass of corn cobs.


 I am so enjoying these Pitayas (Dragon Fruit).


Luscious Basil, soon to be turned into pesto for winter.
I think they grow much better in Autumn than in Summer.


There are plenty of eggplants -  you can see the pretty purple eggplant flowers.


 A red Birds Eye Chili which seems to fruit all year round.
Self seeding continually so there are always small chillies available for picking.


 Presently we have a carpet of snake bean plants. 
The snake beans grow well from seed as evidenced by this glorious display.
It sure beats mowing, anyday.


Red papaya, these are huge and it is a self propagating tree.


Even though the main branch snapped, these tamarillos are still ripening.


The last of the pomegranates.


Ruby red grapefruit protected from the galahs.


Can you believe limes are priced at $1 each in the supermarket?


Or lemons selling for 50 cents each?


These are the highlights of my April garden.
If you enjoyed my garden, please view
the other Garden Share Collective members via this link.

Buon appetito, Merryn.

Wednesday, 2 April 2014

Merryn's Menu: Chilli Furikake

Merryn's Menu: Chilli Furikake: I love Chilli - I am possibly addicted to Chilli but it is healthy and harmless. I also like swimming.  Once when I was when competing

Chilli Furikake

I love Chilli - I am possibly addicted to Chilli
but it is healthy and harmless.


I also like swimming.  Once when I was when competing in a school swimming carnival, doing the dreaded 'Butterfly Stroke' half way down the pool,  I felt this hand on my belly lifting me up out of the water.

This muscular teacher apparently thought I was drowning - anyone doing the butterfly stroke looks like they can't swim.   Seriously, whoever invented this method of swimming should be shot!

I think the teacher was trying to win brownie points with a new female teacher, but it didn't do anything for my morale.  Lesson learnt, participate in what you enjoy and not what you are told to compete in.


Likewise, because I like chilli, I will eat chilli.


Chilli Furikake is equally nice sprinkled on boiled rice or any dish that needs a flavour lift.
It is delicious sprinkled over sliced cucumber or spaghetti con aglio olio (with garlic and olive oil).

I bought Adam Liaw's cook book Asian After Work and am thoroughly enjoying the recipes.
Thinking carefully about copyright I hesitated in reproducing Adam's recipe, until I saw this post on
TheHoopla where Chilli Furikake was cooked on Masterchef with Crispy Squid.

Here is the recipe;

Chilli Furikake
2 tbsp bonito flakes
1 sheet nori seaweed
1 tsp sesame seeds, toasted
1 pinch caster sugar
1 tsp Korean chili powder
2 tbsp Maldon sea salt
1. To make the Chilli Furikake, toast the nori sheet over an open flame for few second until it becomes brittle. Crumble the nori into the bowl of a small food processor with the bonito flakes and process until it becomes a coarse powder. Add the toasted sesame seeds, sugar, chili powder and salt and mix well. Store in an airtight container.

My breakfast usually consists of two fried eggs sprinkled with a little finely sliced chilli, depicted here with the welcome addition of Chilli Furikake. It is a great accompaniment to the creamy, home made fried Haloumi.


Does anyone else add extras to their fried eggs and what would you put Chilli Furikake on?
Buon appetito, Merryn


Tuesday, 25 March 2014

Merryn's Menu: Coconut Pandan Ice cream

Merryn's Menu: Coconut Pandan Ice cream: Ice cream - a summer staple! This coconut pandan ice cream is fresh and delicious, reminding you of summer holidays. A few years ago...

Merryn's Menu: Coconut Pandan Ice cream

Merryn's Menu: Coconut Pandan Ice cream: Ice cream - a summer staple! This coconut pandan ice cream is fresh and delicious, reminding you of summer holidays. A few years ago...

Coconut Pandan Ice cream

Ice cream - a summer staple!

This coconut pandan ice cream is fresh and delicious, reminding you of summer holidays.

A few years ago, I was very lucky to win a holiday for two, to Airlie Beach in tropical North Queensland.
This included accommodation, breakfast daily and the bus trip there and back.

If you have ever travelled 1,900km on a bus (coach) interstate, you will relate to my experience.

I was three months pregnant with our third child, and happy to leave the other two with my parents for a week's holiday.  

It was all great, travelling at night time; sometimes snoozing and drinking hot chocolate at every convenience stop to try to help you sleep more.


By the time we reached Ballina for breakfast it was early morning and I would have loved a pillow.
At Surfers Paradise, I just wanted to get out and have a break.
When Brisbane was reached it was the end of the line for that bus and we had to carry our bags, literally across a tarmac to another waiting bus.  We seriously considered getting a taxi to the airport to fly the remaining distance.  
Refreshed by the half wait in Brisbane we stretched our legs and felt ready to continue our journey citing that the bus trip was after all, just another part of the prize package.


A decision we regretted one hour later.
Still, it was amazing scenery and the views from Brisbane through to Hervey Bay were superb.


Through  Rockhampton and Mackay to reach Airlie Beach we had travelled by bus 
enough kilometres to last a lifetime!


One of the sights I did enjoy were of the Pandanus bushes. 
Technically called Pandan these bushes thrive in hot and dry conditions
although we live in a sub tropical climate they grow well here.


My husband and I had an amazing time at Airlie Beach and thoroughly enjoyed the stay, flying or boating to the neighbouring islands daily, feasting well and I would certainly recommend this trip to everyone.

P.S.  We braved the bus home again, I think we slept the whole way and survived to tell the tale :D


This is my Coconut Pandan Ice Cream to reflect these memories.
2 cans (800ml) coconut milk
600ml thickened cream
1 1/2 cups caster sugar
4 pandan leaves tied in a knot


Put the coconut milk, sugar and cream into a saucepan.  Bring to a simmer then add the pandan leaves tied in a knot and stir well then  simmer for 5 minutes, stirring occasionally.  Remove pandan leaves and discard.
Put mixture in the refrigerator and chill  for 1 hour.
Churn in your ice cream maker as per instructions.  If you don't have an ice cream maker you can put the mixture into a freezer suitable plastic container with a lid on.  Rake a fork through it after 30 minutes.
Freeze until ready to use.
Buon appetito, Merryn


Monday, 17 March 2014

Merryn's Menu: Fig and Ginger Jam

Fig and Ginger Jam

Home Made Fig and Ginger Jam

Figs are my most favourite Fruit


This year our fig trees have fruited prolifically.  There are so many figs and we have been picking them for more than three months.   I have eaten them, dried them, grilled them, jammed and cooked them, but I needed something new to do.  I considered a fig chutney, much like a mango chutney as an accompaniment to hot spicy curries.

I stumbled across this great post on kitchenlaw and had to give it a go.


My version of Ginger and Fig Jam (Chutney)

1.1kg fresh figs
750g white sugar
2.5cm piece of fresh ginger, finely chopped
zest and juice of 2 limes
1 teaspoon vanilla extract
1 teaspoon cinnamon

Cut off the stalks and wash the figs.  Chop them into 1cm cubes and place in a large non-reactive saucepan.
Turn the heat to medium and add the remaining ingredients.
Bring to a boil them simmer until thick approx 45 mins.
Test if done by placing a saucer in the freezer and put a teaspoon of jam on it to see if the jam has 'set'.
Ladle the jam into the sterilised jars, screwing their lids securely.

Sterilise your jars by placing them in a cool oven, turn to 150 celsius then let cool.
Place the lids in boiling water for 10 minutes.


I will be serving this as an accompaniment to hot curries 
which is why I didn't increase the amount of vanilla extract 
or cinnamon which give this jam a truly unique flavour.

Buon appetitio, enjoy Merryn

Fig and Ginger Jam

Home Made Fig and Ginger Jam

Figs are my most favourite Fruit


This year our fig trees have fruited prolifically.  There are so many figs and we have been picking them for more than three months.   I have eaten them, dried them, grilled them, jammed and cooked them, but I needed something new to do.  I considered a fig chutney, much like a mango chutney as an accompaniment to hot spicy curries.

I stumbled across this great post on kitchenlaw and had to give it a go.


My version of Ginger and Fig Jam (Chutney)

1.1kg fresh figs
750g white sugar
2.5cm piece of fresh ginger, finely chopped
zest and juice of 2 limes
1 teaspoon vanilla extract
1 teaspoon cinnamon

Cut off the stalks and wash the figs.  Chop them into 1cm cubes and place in a large non-reactive saucepan.
Turn the heat to medium and add the remaining ingredients.
Bring to a boil them simmer until thick approx 45 mins.
Test if done by placing a saucer in the freezer and put a teaspoon of jam on it to see if the jam has 'set'.
Ladle the jam into the sterilised jars, screwing their lids securely.

Sterilise your jars by placing them in a cool oven, turn to 150 celsius then let cool.
Place the lids in boiling water for 10 minutes.


I will be serving this as an accompaniment to hot curries 
which is why I didn't increase the amount of vanilla extract 
or cinnamon which give this jam a truly unique flavour.

Buon appetitio, enjoy Merryn

Wednesday, 12 March 2014

Merryn's Menu: Home Made Dried Figs

Merryn's Menu: Home Made Dried Figs: Dried Figs Saving Summers' Fig Harvest for use all year long. This morning, I walked around the garden as I always do on a sunny ...

Home Made Dried Figs

Dried Figs

Saving Summers' Fig Harvest for use all year long.


This morning, I walked around the garden as I always do on a sunny morning before leaving for work.
I felt compelled to walk to the most northern point of our backyard

when

I heard a little splash and saw a brown striped frog frolicking in a plastic crate that was half full of water. 


I wasn't sure if the frog could climb out or not, as when tadpoles turn into frogs they have to 
be able to climb ashore or they will drown.  Taking a wooden garden stake I propped it 
into one corner of the crate so the little frog could climb up on it to escape to firm ground. 
It is a good feeling knowing you have helped a smaller and vulnerable species survive today.


Talking about survival, I love figs and wish they would stay on the tree for the whole year.
As they do not, I decided to preserve some by dehydrating them.


I finally have the drying procedure worked out perfectly.


Firstly you cut off the small end stem.
Slice the figs in half horizontally or if they are
extra large, slice them into 1/3's or even 1/4's.

Make up a solution of 1 tablespoon Ascorbic acid to every 1 litre of water.
Ascorbic acid is basically Vitamin C so get some chewable Vitamin C tablets and crush up 4 tablets.
Stir this solution, just use cold water, don't heat it.
Soak the fig slices in this solution for 10 - 15 minutes as soon as they are cut.
Then, drain them in a colander for 10 minutes to remove any excess liquid.
(Note, the ascorbic acid solution keeps the bright fig's natural colour when they are dried)


Place them on the drying racks, making sure they do not touch each other.


  Place the lid on, lock into position and turn to the highest speed.

These figs will take between 20 - 24 hours to totally dry.


 Take the lid off and turn after approx 10 hours.


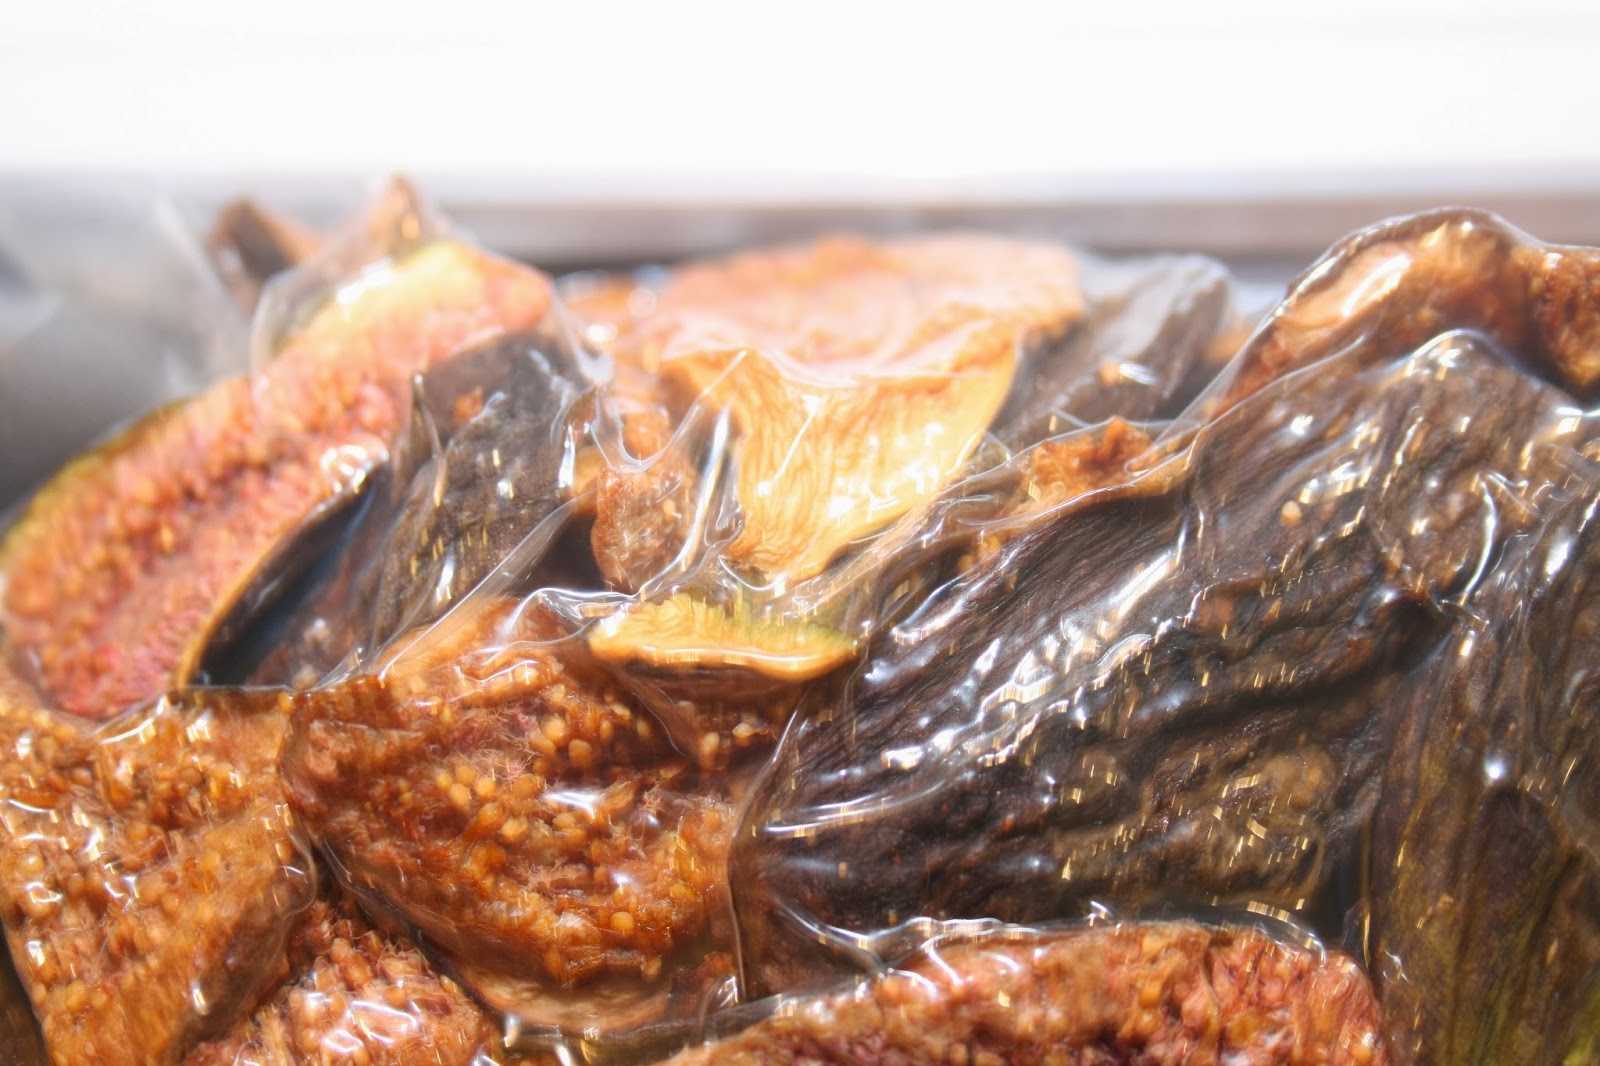
Look at these gorgeous figs.
Their sweet aroma fills the house.


These were touch dry after 20 hours.


Let them cool, then vacuum seal for long storage.


Figs preserved this way will keep 
In the Pantry   3 - 12 months
In the Fridge        1 - 2 years
In the Freezer       Indefinitely

To use, you can re hydrate them in water or juice overnight, ensure there is enough liquid to cover the figs.
Or you can simmer them in water or juice.
For biscuits and desserts, chop the dried figs as they are before adding them to the recipe.
Dried figs can also be eaten and enjoyed straight from the packet.

Buon appetitio, enjoy, Merryn 

Sunday, 2 March 2014

In Marches Autumn
Autumn in my Garden

March brings so much variety with many fruits almost ripe, a total gardener's delight!

Last year I had one Pitaya, this year there are 19, although 2 are on my neighbour's side of the fence.
Both of my arms were badly scratched retrieving the prickly branches to bring 17 back on my side.

Pitaya (Dragon fruit)


The first quinces have been picked. This tree was planted twelve months ago, it is clever to grow 5 fruit.


There are 20 olives brining in this jar, 20 this year, a whole bucketful next year~!

We have an abundance of figs.  Black Genoa, Brown Turkey, White Adriatic and a Yellow seedless variety (Please inform me if you know it's name.)
Fresh figs, grilled figs, fig jam, dried figs did I mention fresh figs?  Their flavour is sublime.


Soem need more protection from birds than other varieties.


A selection of chillies, from mild through to cayenne and jalapeno hot.
Plus our first lime of the season.


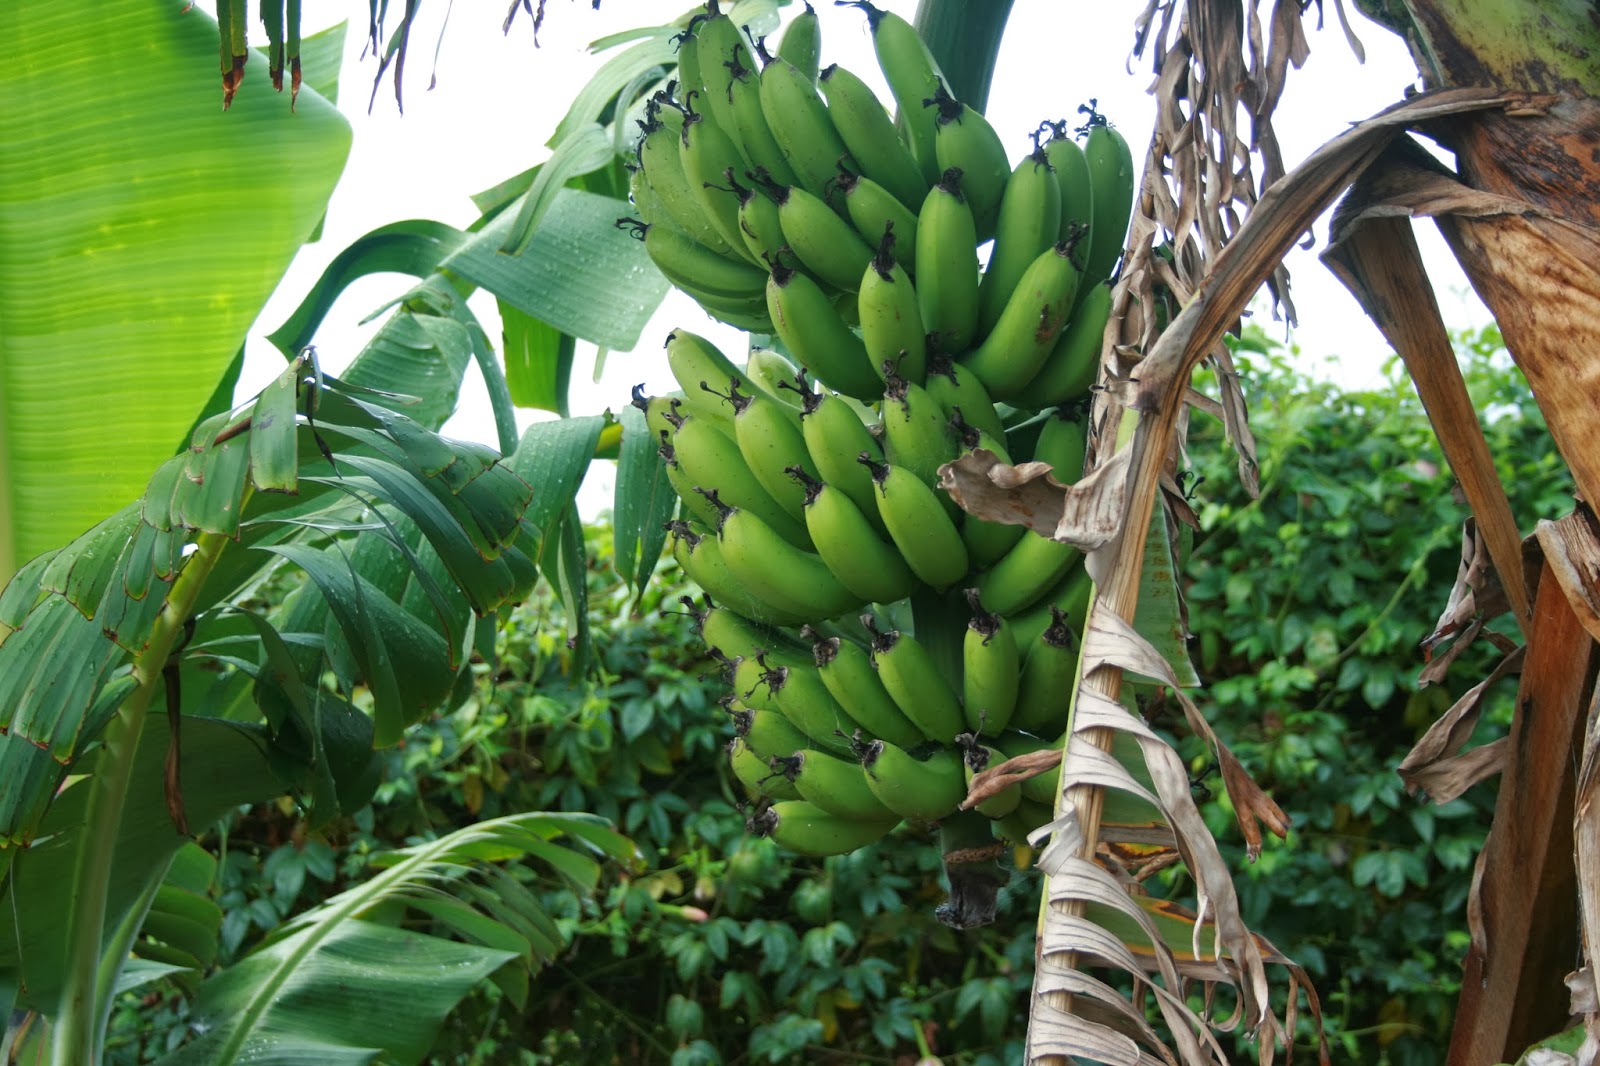
We have two bunches of bananas growing, which will ripen in different months.  Both suckers came from the same tree but one was moved to a different part of the yard where a crop of bananas will ensue.


Eggplant (aubergine) black, glossy and healthy.


This Tuscan Kale plant was riddled with caterpillars, so I pruned it right back
and now it has re-shot, producing fresh, young kale leaves.


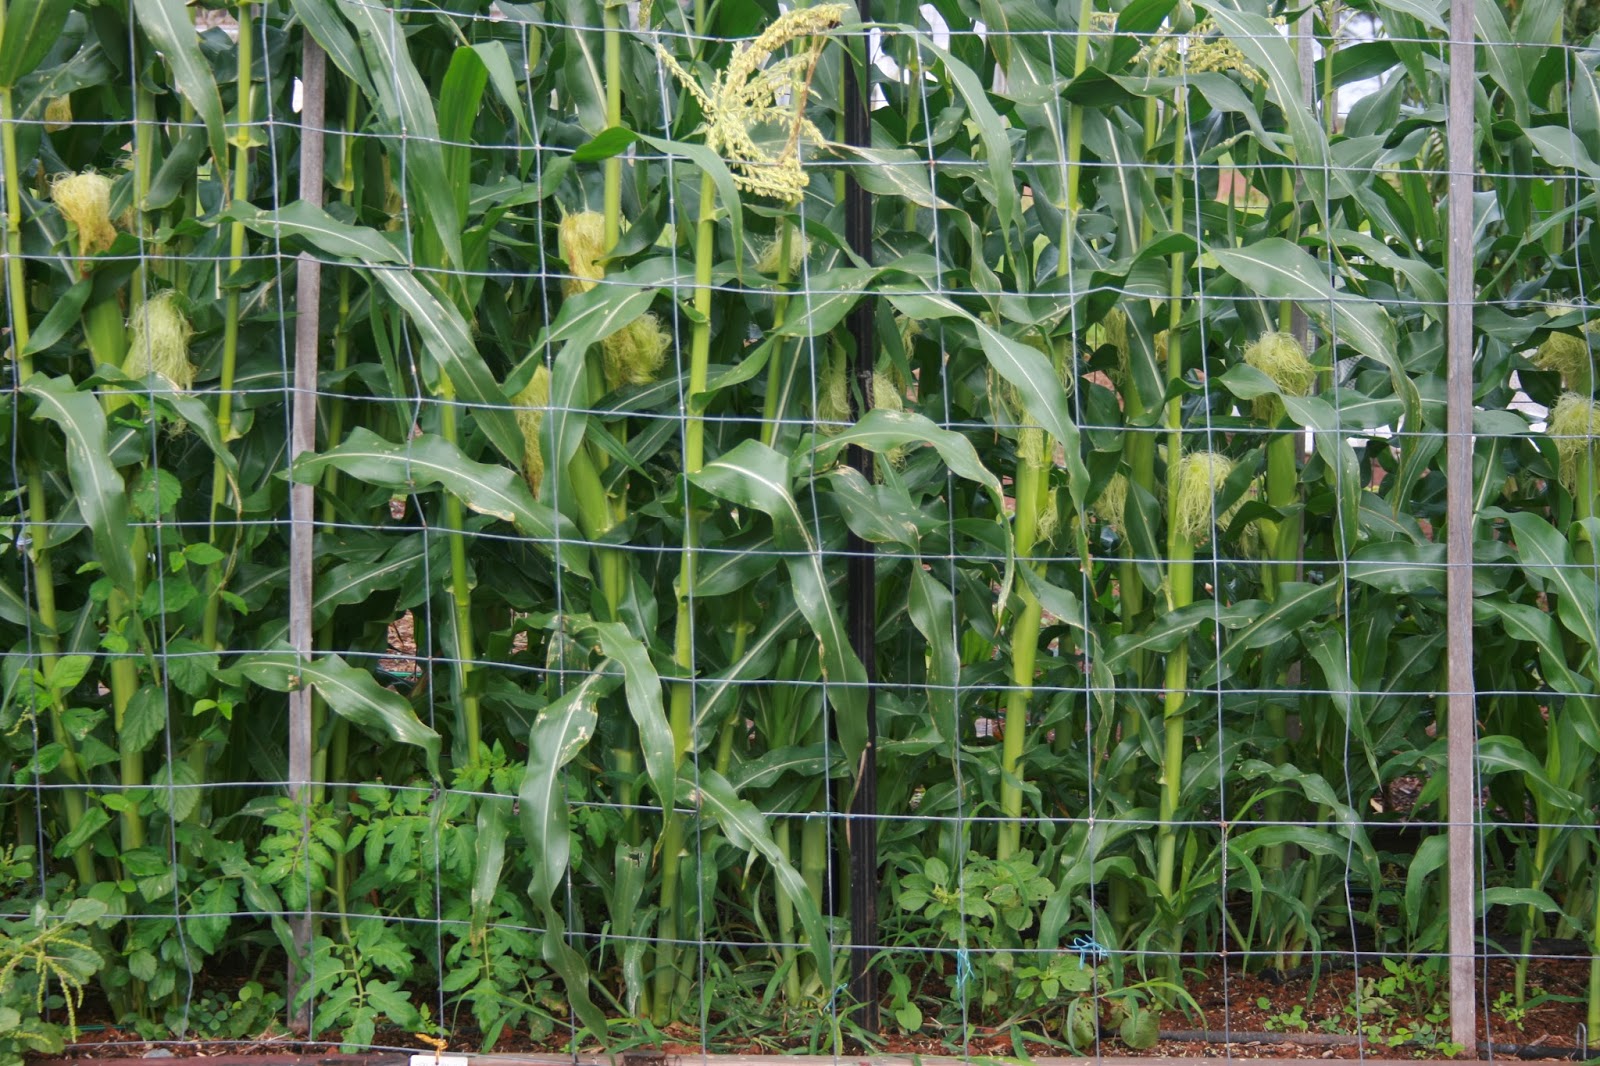
Corn, behind a chicken proof fence, soon to produce luscious corn cobs.


Since being planted in the ground this bay tree is bursting with life.


Green papaya, I love to make green papaw salad with these lovely specimens.


Tamarillos (Bush Tomatoes), proudly clumped together.
These will turn a bright, dark red when ripe.


Ever present chicory, pick all the leaves and it will re-shoot to produce another plant.


We are still picking tomatoes, so much nicer than any store bought variety.


A Rockmelon vine with flowers trailing along the ground.


One of the free ranging chickens eating everything in it's path.


I hope you have enjoyed strolling around my Autumn garden, 
please take the time to enjoy the other Garden Share Collective members gardens.
Buon appetitio, Merryn.