Showing posts with label water. Show all posts

Sunday, 14 September 2014

Sourdough Loaf cooked in the Breadmaker - my unique creation.

Bring our your bread maker, dust it off and cook a perfect sour dough loaf in it, overnight.


The benefits of sourdough bread are myriad but essentially -


Sourdough bread is more digestible than normal white bread and more nutritious as well.
Lactic acids in the sourdough bread ensure the vitamins and minerals in the flour are
more available to your body by helping to neutralise the phytates in flour
that would inhibit their absorption.
 The sour dough bread is more digestible and less likely to cause food intolerance issues.
The acids also slow down the rate at which glucose is released into the blood stream
which lowers the bread's GI (glycaemic index).


There was not a recipe for sour dough loaf in any recipe book I have, 
so it seemed sensible to prepare it as normal, let it rise overnight in the tin, 
so the wild yeast could further ferment.
Then I baked as per any bread loaf after eight hours.


Sour Dough Breadmaker Loaf


Place 200g sourdough starter in a bowl
Add 300ml cold filtered water
400g plain flour (I use bakers flour)
1 teaspoon salt
1 teaspoon white sugar

Mix all together lightly in a bowl until just combined.
Place into the bread maker tin provided that is inserted in your bread maker.
Put into bread maker, click into place, choose setting (crusty)
and set timer so it is baked and finished for your 7am breakfast.

* Makes 750g loaf

This dough needs to rest for at least 8 hours before baking (up to 12 hours is okay).
Next time I will use the bread maker unit to initially mix the dough, then have a delayed start so it will still bake eight hours later.

The resulting loaf is light but with the unique sour dough texture you expect from sour dough.
We ate it fresh for two days and toasted on the third day.

Bon appetito, Enjoy Merryn


Wednesday, 12 March 2014

Home Made Dried Figs

Dried Figs

Saving Summers' Fig Harvest for use all year long.


This morning, I walked around the garden as I always do on a sunny morning before leaving for work.
I felt compelled to walk to the most northern point of our backyard

when

I heard a little splash and saw a brown striped frog frolicking in a plastic crate that was half full of water. 


I wasn't sure if the frog could climb out or not, as when tadpoles turn into frogs they have to 
be able to climb ashore or they will drown.  Taking a wooden garden stake I propped it 
into one corner of the crate so the little frog could climb up on it to escape to firm ground. 
It is a good feeling knowing you have helped a smaller and vulnerable species survive today.


Talking about survival, I love figs and wish they would stay on the tree for the whole year.
As they do not, I decided to preserve some by dehydrating them.


I finally have the drying procedure worked out perfectly.


Firstly you cut off the small end stem.
Slice the figs in half horizontally or if they are
extra large, slice them into 1/3's or even 1/4's.

Make up a solution of 1 tablespoon Ascorbic acid to every 1 litre of water.
Ascorbic acid is basically Vitamin C so get some chewable Vitamin C tablets and crush up 4 tablets.
Stir this solution, just use cold water, don't heat it.
Soak the fig slices in this solution for 10 - 15 minutes as soon as they are cut.
Then, drain them in a colander for 10 minutes to remove any excess liquid.
(Note, the ascorbic acid solution keeps the bright fig's natural colour when they are dried)


Place them on the drying racks, making sure they do not touch each other.


  Place the lid on, lock into position and turn to the highest speed.

These figs will take between 20 - 24 hours to totally dry.


 Take the lid off and turn after approx 10 hours.


Look at these gorgeous figs.
Their sweet aroma fills the house.


These were touch dry after 20 hours.


Let them cool, then vacuum seal for long storage.


Figs preserved this way will keep 
In the Pantry   3 - 12 months
In the Fridge        1 - 2 years
In the Freezer       Indefinitely

To use, you can re hydrate them in water or juice overnight, ensure there is enough liquid to cover the figs.
Or you can simmer them in water or juice.
For biscuits and desserts, chop the dried figs as they are before adding them to the recipe.
Dried figs can also be eaten and enjoyed straight from the packet.

Buon appetitio, enjoy, Merryn 

Wednesday, 15 January 2014

Ratafia

It is sublime to garden, cook and have a refreshing tipple all at once.

This is just what Ratafia offers ......

Grow the peach tree, pick the leaves, leave them soaking in white wine for 10 days, strain, bottle and enjoy!
Preferably on a garden seat, enjoying the view of flora.


(1)  Pick 125 peach leaves, wash them and leave to dry.
(2)  Take 1.5 litres white wine (I used Moscato which is a sweet wine).
(3)  1 cinnamon stick, 1 star anise and 3 whole cloves.
(4)  Place all into a large jar, seal and leave at room temperature away from the sun, for 10 days.


(5)  After 10 days strain, you will see how golden the white wine has become.
(6)  Now very gently heat 1 cup Vodka with 120grams of castor sugar, stirring to dissolve the sugar.
(7)  Let cool and add to the strained wine.
(8)  Bottle into sterilised jars, seal and enjoy.
(9)  Store 1 bottle in the refrigerator and keep the other 2 on your liquer shelf.

(I do wish I had removed the bottle labels first.)

Ratafia


You have Ratafia!   A gorgeous digestif; perfect to have in a small glass over ice to finish your meal.
You can also mix 1/3 Ratafia with 2/3's sparkling water with ice for a refreshing drink.

Please note you must be over 18 in Australia to drink alcohol.
Merryns Menu suggests drinking in moderation.

Buon appetito!  Enjoy, Merryn

Tuesday, 23 April 2013

Preserving Lemongrass in Brine

Lemongrass, fresh and sweetly scented

Perfect for Stir fries, Curries and Jam.

Preserving Lemongrass

Where I live in the mid north coast of New South Wales lemon grass is a constant. 
It grows all year round, healthily and in abundance.  
Like a good extended family, it expands, grows and multiplies.  

 I notice our gorgeous Himalayan cat Chloe loves to chew the sharp grass edges, cleaning her teeth with a citrus flavour.  Lemongrass does have a unique scent which is appealing to animals as well as to us.


While we are lucky to have it growing abundantly, it can be handy at times, especially when you have limited time to prepare dinner, to have a jar of lemongrass already chopped in the fridge.

This is a simple and effective way to preserve the lemongrass.

Remove the green stems and only keep the white part of the lemongrass as this contains all of the flavour.
Roughly chop into 3cm lengths.


Then place into a food processor or blender and blend until finely chopped.


Place the lemongrass into a sterilised jar whilst the jar is still hot.
(To sterilise a jar place in the oven when cold and heat oven to 150 celsius, turn off and let sit 10 minutes.)


Make a brine with1 cup boiling water, 1 tablespoon salt and 1 teaspoon of sugar.
Mix all together and pour over the lemongrass making sure it is all covered with the liquid.


Seal, cool, then store in the fridge until required.


Use in curries, stir fries or savoury jams as required.

Buon appetito, please let me know if you found this post useful.  Cheers Merryn

Tuesday, 2 April 2013

Peach and Apple Jam

Divine Homemade Peach and Apple Jam

With summer warmth comes the arrival of apples.  I always thought apples were a cold climate fruit as Tasmania is called 'The Apple Isle' and apple trees are not prevalent in the mid north coast of New South Wales. 
MOH (My Other Half) protected the green Granny Smith and the dwarf Pinkabelle tree from invading apple eaters.  Late last year we were so excited to see the Royal Gala and Golden Dorset apple trees growing side by side bloom firstly with gorgeous pink/white blossoms which were then replaced with small apples that slowly but surely grew to be gorgeous, edible apples.

These apples were close to being harvested in late November when we went away for a few days.
On our return we were devastated to see the apples had been seriously culled, some hanging half eaten off the trees.  Thinking they were birds, MOH netted the tree and that evening, just after dark, you could hear creatures settling on the tree and getting trapped in the net.  They were flying foxes!  Much like a bat, there were 5 flying foxes caught in the net and the night was still young.  Needless to say it was not easy disentangling these hapless creatures and we realised we would not be eating any of those apples.

Thus when the other two apple trees, the Granny Smith and Pinkabelle (which is basically a dwarf Pink Lady tree) were slowly ripening, MOH constructed a PVC plastic pipe structure and netted it on the sides so it could be moved from one fruit laden tree to another.  Very creative and we managed to harvest 6kg of apples which was brilliant considering the trees have been in the ground 1 -2 years and this was their first fruiting.


We have had apple pie, apple danish, apple crumble, bakewell tart, apple sauce, and fresh apples but there was still some remaining so my thoughts turned to jam.

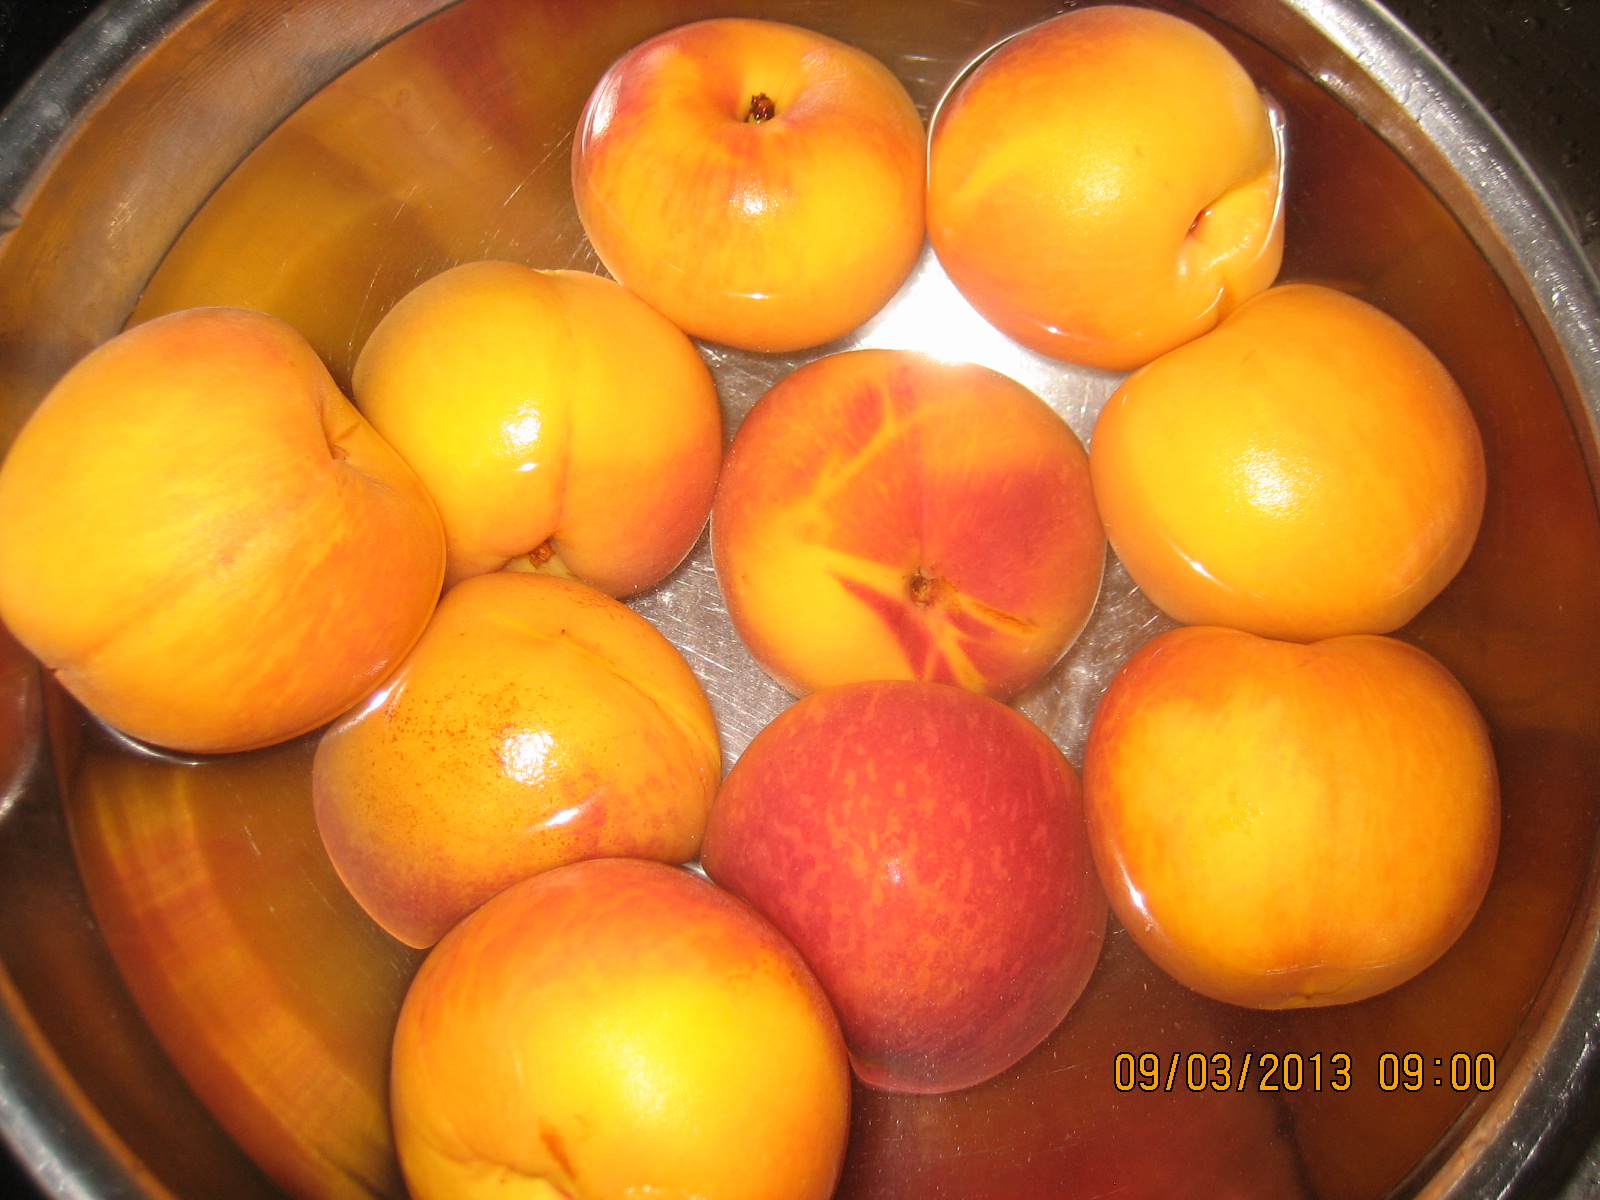
I had previously made fig and apple jam at Christmas so this time decided on purchasing some beautifully big, juicy yellow peaches to combine with the apples.

Firstly I measured 1.8kg green apples, washed them which was probably not necessary as using the clever apple slinky the apples are simultaneously cored and peeled in one movement.  I know there were no pesticides used in the manufacture of these apples, but washing fruit is purely a learned habit.  Then they were chopped to a small 'suitable for jam' size.


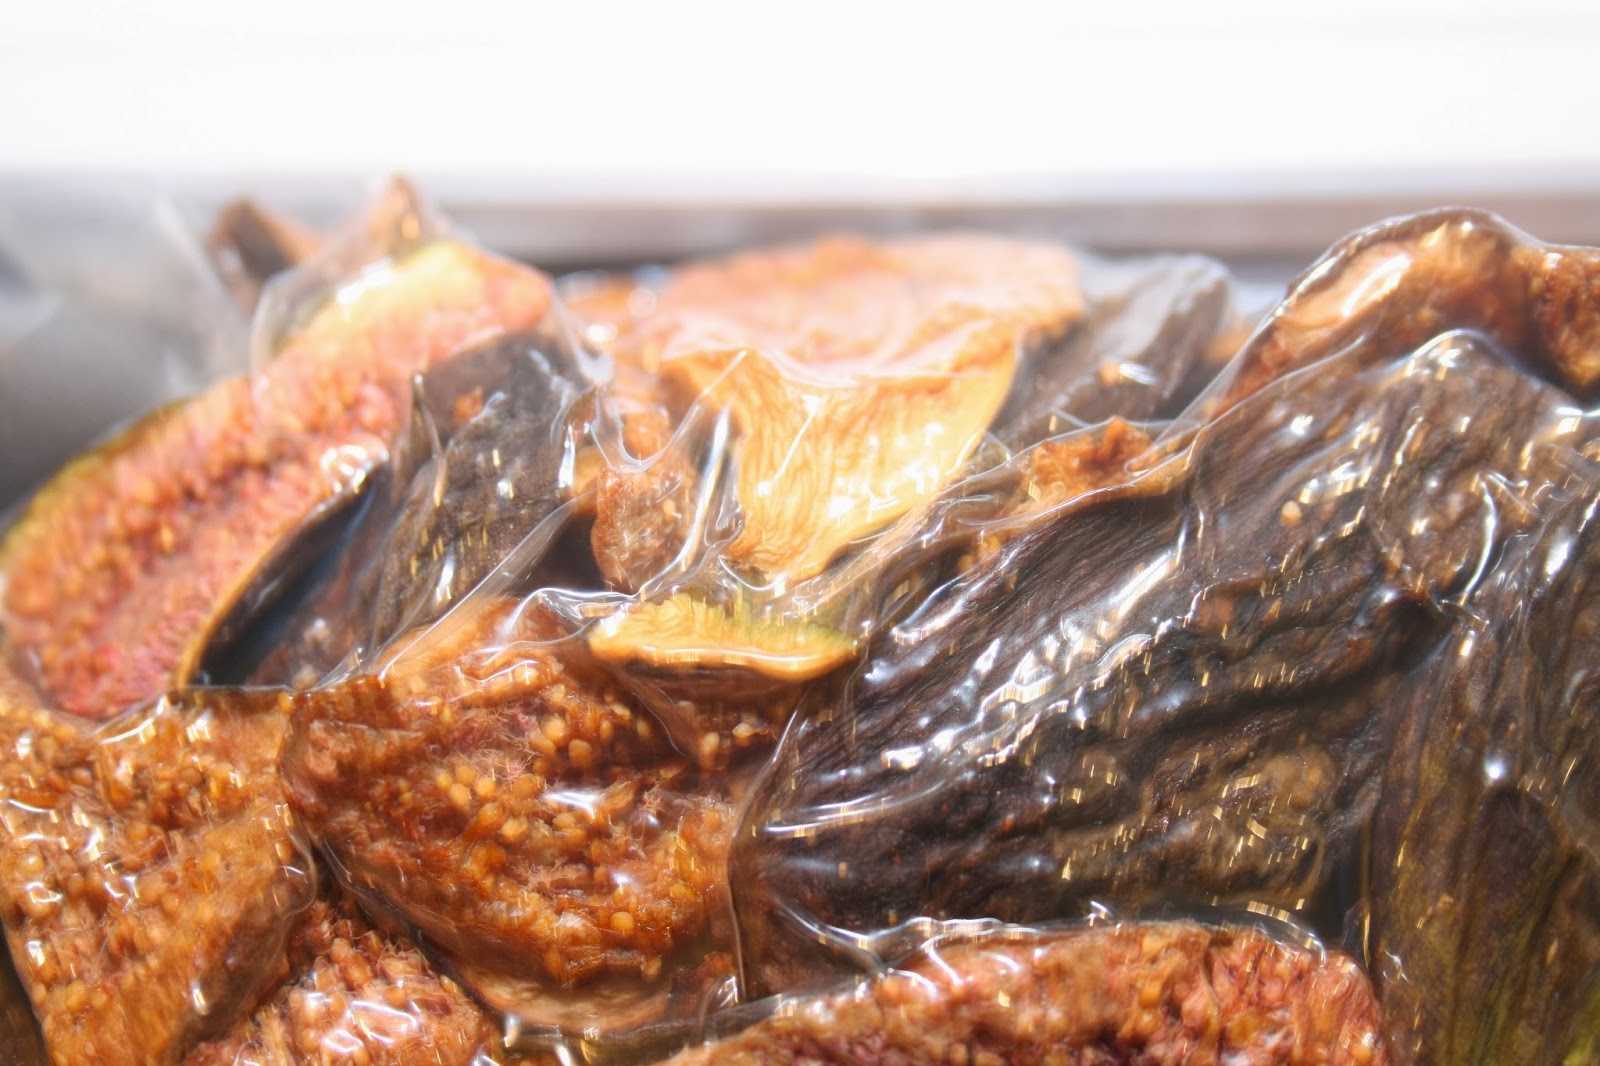
The gorgeous peaches were plunged into boiling water for one minute then refreshed in cold water to enable the skins to be peeled easily.   Then the peach stones were removed but reserved for special use.


The peaches were similarly chopped to the same size as the apples.


The chopped apples were simmered alone initially prior to adding the chopped peaches and lemon juice.


I placed the apple cores and peach stones into a square of muslin, then tied the ends together and hung this into the chopped apples.  There is pectin in the cores/seeds which helps the jam to 'set'.


Removing the muslin bag before adding the sugar.


Simmering away with the sugar added to the jam.  After the sugar is dissolved, don't stir the jam again.


Peach and Apple Jam Recipe

1.8 kg fresh green apples, cored, peeled and finely chopped
10 large peaches, skinned and stone removed
250ml water (1 cup)
250ml lemon juice
1.2kg sugar, approximately
muslin to store the apple cores and peach stones in during cooking.

Place chopped apples and water in a large saucepan, bring to boil, reduce heat to simmer and allow the tied muslin bag with the apple cores and peach seeds to nestle in the fruit, then simmer covered for 10 minutes. Add the chopped peaches and lemon juice, then simmer for approximately 20 minutes, or until the fruit is soft.    Remove the muslin bag, squeeze to remove any liquid and discard.
At this stage it is suggested by many jam makers, including my mother, that you measure the jam and add 3/4 cup of sugar for each full cup of jam.    I find this an unnecessary step and as we don't like our jam too sweet I added 1.2kg white sugar which was just perfect.  Sugar can be added to taste.
Boil uncovered for a further 10 minutes, do not stir after the sugar has dissolved.  Jam is ready when a little placed on a saucer that has been in the freezer 'sets', that is, forms wrinkles when pushed with your finger.
Pour hot jam into hot sterilised jars and seal while hot.

This jam will last for a long time, about two years, but I suspect strongly that the family will eat all the jars before we can do a time test.
Buon appetito!