Monday 16 December 2013

Modern method for making Tomato Sauce


We had a bit of excitement last night.  
It was just after 8pm when we heard a very loud 'BANG' coming from outside the front of our home. 
 It could have been a car backfiring or an incredibly large balloon being popped.
MOH (My other Half) ran to the front door, wrenching it open,
whilst two teenagers came flying down the stairs to see what the fuss was about.

Our letter box had been blown up by a firecracker!  
This is (a) illegal and (b) downright annoying.
The front and back slots had been blasted off and there were cracks along parts of the letter box.
We put it down to bored youth and actually, this morning I am laughing about the event.
Over the years my parents have had their letter box towed away three times,
so it must be fun for someone.


This is Passata (pure bottled tomato sauce) I have previously made
 
Summer is all about fresh tomatoes.  Picking, bottling and admiring perfectly plump tomatoes.
Cooking this passata into a delicious tomato sauce that is the basis of so many dishes
is an enjoyable and aromatic experience.
 

Firstly add about 4 tablespoons olive oil into a large saucepan,

over medium heat add 1 chopped onion, fry for 3 minutes.

Add 1 large or 2 small garlic cloves finely chopped,

and 2 fresh bay leaves then fry for 3 more minutes.

You want the onion cooked, but not browned, so lower the heat when required.

At this stage, add 3 anchovy fillets (I buy them in a bottle of oil)

and break up with your wooden spoon for 1 minute, until they are melted.

Pour in 1/2 cup red wine then let it bubble and cook for 3 minutes

at which stage you pour in your bottle of Passata

(or a large 400g can of bottled tomato chunks or whole tomatoes).

Season with 1 tspn dried oregano and 1/4 cup chopped fresh parsley leaves.

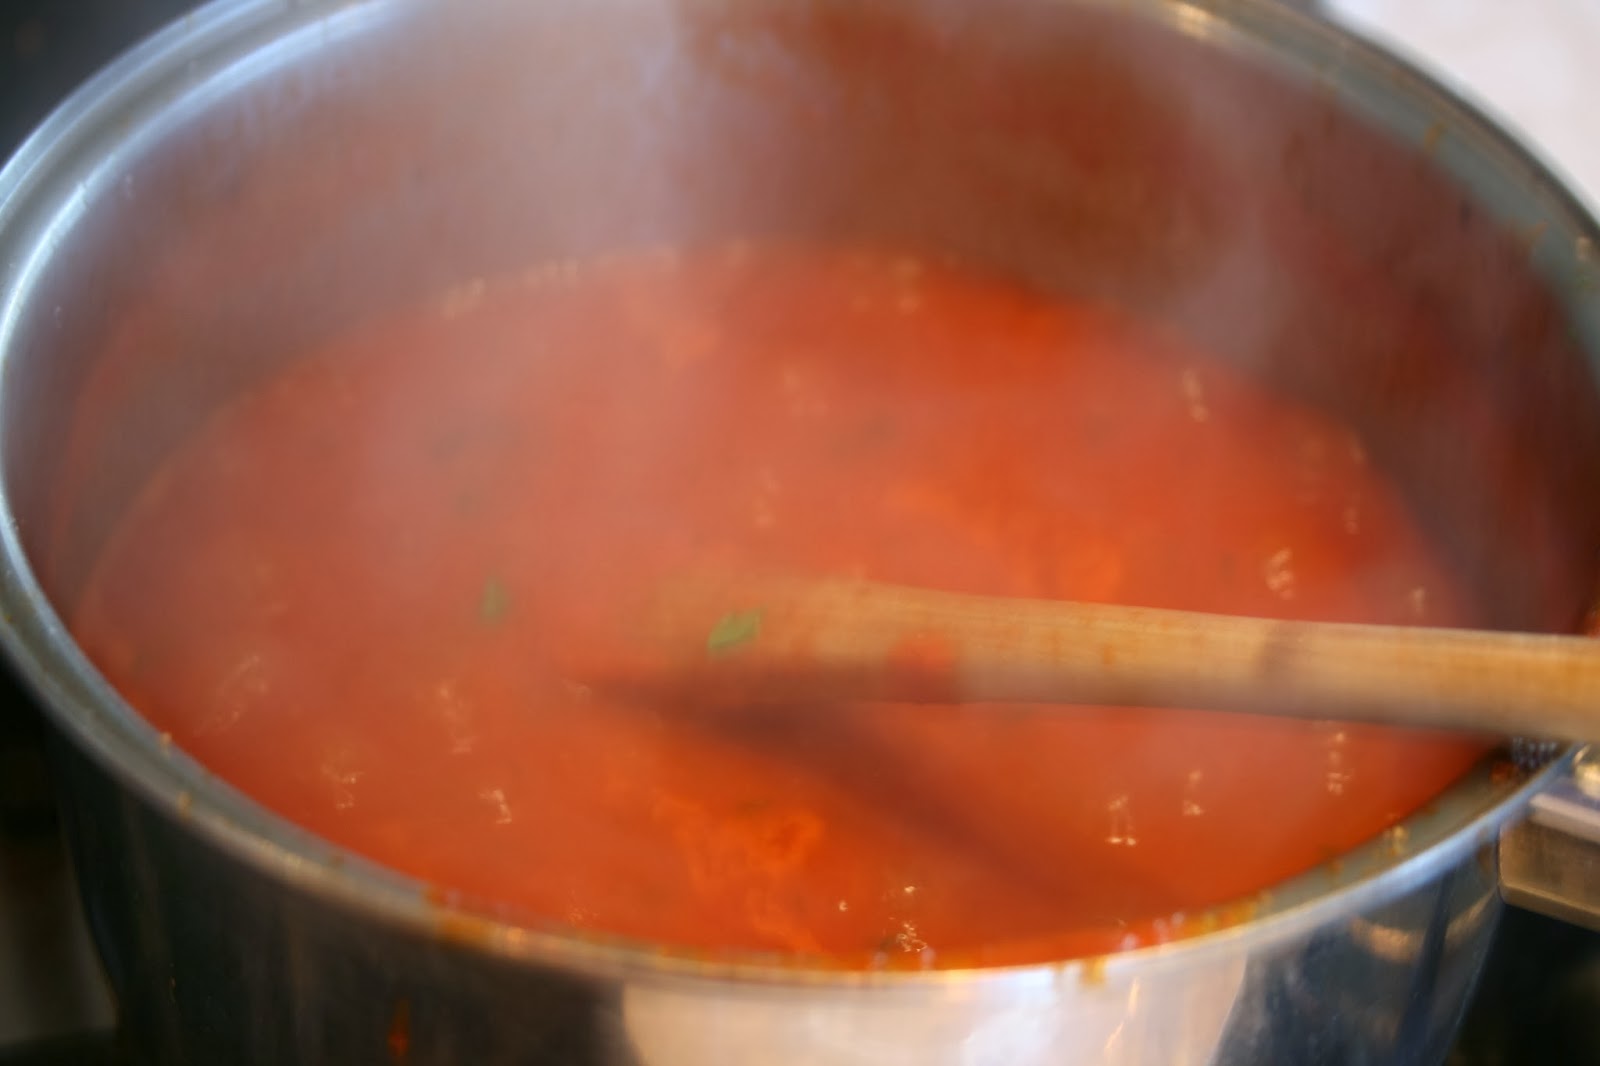
Bring to boiling point then lower to a simmer, simmering uncovered for 15 minutes.

Chop 1/3 cup fresh basil leaves and add, cooking only for 5 more minutes.


If this home made tomato sauce is to be served alone,
you can thicken it by adding 1 large tablespoon of tomato paste
after it has been turned back from boiling point.
 
Buon appetito, Enjoy, Merryn.

Cheese Filled Chicken Parcels

You have to love mozzarella, hot and melting, peeping out of the middle of food creations.


It is now less than two weeks until Christmas.  The weather is warming up, we tend to go to parties, snack on finger foods and drink more than usual.  I still maintain a good eating routine, dinner is served between 7 - 8pm, with at least 3 vegetables, meat du jour or 3 salad offerings.
A dish such as this covers so many bases, protein, dairy, vegetable and fibre all rolled into one.

Firstly fillet the chicken breast, making each fillet about 1cm thick, by the length of the fillet.


Lightly brown in olive oil, searing each side over a high heat for approximately 1 minute per side.


Meanwhile, Mix the stuffing ingredients together in a small bowl.


Place the stuffing mixture on top of the chicken.


Then roll up, place a prosciutto strip on the outside  and tie with kitchen string. 

You can pop a thyme or parsley sprig under the string.


Here is my tomato sauce, simmering away, smelling delightful.


http://merrynsmenu.blogspot.com.au Modern Homemade Tomato Sauce

The aroma brings a few teenagers into the kitchen, enquiring as to what smells so good.


Place onto a lightly oiled baking tray and cover with your cooked tomato sauce mixture.


Place into a pre-heated 180C degree oven

and cook for approximately 30 minutes,

until the prosciutto is turning brown and the chicken is cooked through.


Cheese Filled Chicken Parcels

Ingredients

 1 kilo fresh chicken breast fillets
150g prosciutto sliced finely
12 fresh thyme sprigs
750ml freshly cooked tomato sauce
 

Stuffing Mixture

1 cup grated mozzarella cheese
1/2 cup ricotta cheese
1/2 cup fresh continental parsley, chopped
1/4 cup fresh chives, finely chopped
1/4 cup fresh white breadcrumbs
1 egg
salt and pepper
 

Method

Slice chicken breast fillets into 1cm thick fillets.
Sear over a high heat for 1 minute per side, place on a plate to cool slightly.
Mix the stuffing ingredients together in a  small bowl.
Place this mixture on top of the chicken fillets, roll up and place a strip of prosciutto around each one
before tying together with kitchen twine.  Optional, place a thyme sprig under the kitchen twine.
Place into an olive oil greased baking tray, pour over your tomato sauce
and bake, uncovered for 30 minutes. 
Ensure your chicken is cooked through by inserting a skewer and making sure clear juices run out.
Serve with freshly cooked pasta and steamed greens such as broccoli or beans with crusty bread on the side.
 
Buon appetite!  Enjoy, Merryn.


Sunday 1 December 2013

November in the Garden

It is the end of November and you can taste the sun in your vegetables.

How amazing is this corn?  Sweet, succulent and sensational. 


Buttered corn on the cob, barbecued or chargrilled or stripped and fried as corn fritters.
Corn is so easy to grow and each plant products so many lovely cobs of corn.


Fresh honey, the sweetness of honey produced by your own bees from your own flowers is amazing.
It is incomparable to any you can buy and we are blessed by the presence of bees.

Thursday 28 November 2013

Capsicums stuffed with Vegetables - My Unique Creation

Capsicums filled with Vegetables

Perfect Vegetarian Fare for Spring


Firstly I chopped up vegetables, and fried them in olive oil until just cooked.


Then I halved 2 freshly picked green capsicums, removing the membrane and seeds.
Placing the capsicum halves into a foil lined and olive oil sprayed tray,
they were then filled with the cooked vegetable mixture.


Mozzarella was grated over the top and I placed the tray into a pre heated oven
180 Celcius and cooked for about 25 minutes, 
until the capsicums were soft and the cheese was melted. 


What a delightful vegetable accompaniment, or served as a tasty entrée.
 

Vegetable Filled Capsicums

 Ingredients
1 eggplant, cut into 1cm cubes
1 potato, peeled and chopped into 1cm cubes
2 celery stalks, finely chopped
1 zucchini, cut into 2cm cubes
1 onion, sliced finely
1 garlic clove, finely chopped

1 tablespoon salted capers, rinsed
3/4 cup Passata, (or 3 tomatoes, chopped)
Handful parsley, chopped
1 pinch dried oregano
1 cup grated mozzarella cheese
6 green capsicum, halved and with membrane removed.
1/4 cup olive oil
olive oil spray

Directions
Preheat oven to 180 degrees celsius.

Heat up a large frying pan, pour in the 1/4 cup olive oil, add eggplant and fry for 2 mins per side over a medium high heat.  Add potato, celery, zucchini and onion, turn down to a medium heat and stir occasionally , cooking for 8 minutes. 

 Add the garlic, capers and chopped tomatoes. Cook another 3 minutes. 

Ad the herbs, salt and pepper, tossing through the vegetable mixture. 

Line a baking tray with foil.  Spray lightly with olive oil and place the prepared capsicums, cut side up in the tray. 

Put the vegetables into the capsicums, piling them high as they will shrink when baked.
Top with mozzarella, spray with a little olive oil and bake for 25 - 30 mins until the cheese is melted.
Enjoy!

I  would love to hear how you bake capsicums.           Buon appetito, Merryn


Wednesday 20 November 2013

Modern Passata Method - bottling tomato puree easily

Spring time is the time to harvest your Roma Tomatoes for making Passata.


There is something primeval about gathering and preserving your

tomato crop for the cooler months.

 
I look forward to Spring's first crop so I can enjoy bottling
these gorgeous tomatoes for Passata to last a year.
 

Vibrant, juicy tomatoes bursting with nature's goodness.
 
 Being a busy woman with limited time it seemed sensible
to discard the trusty moulee for a more modern method of preserving tomato sauce.


Out came the JUICER, in went the washed, whole tomatoes.
The tomato juice was captured and the pulp was discarded.
I poured this lovely essential tomato juice into a big saucepan.


Bringing this tomato juice to a boil, I reduced the pan to a high simmer.
Leaving the lid off this mixture, it was simmered for about two hours.


After two hours the mixture had reduced considerably.
Take off the heat and allow to cool to a warm temperature.
 
 
The clean bottles were sterilised by placing in an oven at 150 degrees celsius for 20 minutes.
The lids were placed and left in a bowl of boiling water for 20 minutes.
Let cool until touchable.
 
Then the tomato mixture was poured into a jug to ensure ease
of filling up the sterilised bottles.
 
 
Wrap each bottle in a cloth rag then place horizontally into a large saucepan.
It is okay to place bottles next to and on top of each other
as long as they are surrounded by rags.
Pour warm water over the encased bottles, making sure they are totally covered by water.

 
Bring to a boil and simmer for 20 minutes with the lid on.
Then turn off the heat and leave undisturbed until
the bottles are cool enough to handle (I leave them overnight).


Remove from the water bath and store for many wonderful tomato based meals.
Buon appetito, try this easy passata method, Merryn.

Sunday 3 November 2013

Merryn's post Spring Garden

This is definitely one of the best times of the year for growing and reaping your wonderful garden produce.

Broccoli in abundance ....


Some beautiful snow peas, bouncing with beauty and vitality.


These young cos lettuce, coral lettuce, rocket and shallots are so close to picking. 
 They have been in the soil for about 1 month. 
At this stage, you can pick the outer leaves, allowing the lettuce to continue to grow
and likewise pick the young shallots as they have enough flavour to enjoy.


Our broad beans are  producing very well.  We have been picking them for 6 weeks now. 


The papaya have been amazing!  I love this fruit. 
Served sliced with a little lime juice over the top it is unsurpassed in flavour. 
I love it green and finely shredded for a salad, but equally enjoyable,
ripe and served with the acidic accompaniment of lime or lemon juice. 
This is amazing!

 
Young peaches growing on the tree, soon to be succulent, and juicy.
 
 
Asparagus happily peeping through the ground. 
This such a gorgeous vegetable, give it a dedicated bed and watch it prosper and grow.
 
Beautiful cabbage wholesome and full, cut it in half and give your neighbours their fill!


We have had such a wonderful October harvest and are looking forward to the peaches,
 nectarines and quinces that will be coming to fruition in November.
Not to mention delicious sun ripened tomatoes.
Mouth watering vegetables.
 
Happy gardening! Buon appetito! Merryn
 

Monday 28 October 2013

Asparagus wrapped in Prosciutto before barbecuing

Sometimes you can stumble onto a recipe over a cup of tea, or a glass of wine with a neighbour.
One Friday afternoon, after a hectic working week, I was walking around our garden when our neighbour across the street asked if I needed a hand gardening.   
 I declined but suggested as his wife was still at work and my husband was having an afternoon nap that we walk around the garden together.

 
He came over, accompanied by his gorgeous sons.  
We wandered around the garden, having a chat and winding down,
as you do, on a sunny Friday afternoon.   
The boys found some strawberries to eat and we picked some fresh asparagus for him to take him. 


When his lovely lady of the house came home, I popped some pork chops into the oven and headed over for a chat.   
Kath was appreciative of the asparagus spears and described how they cooked them.


Firstly Kath would blanch the asparagus for one minute, then plunge into chilled water.
Then some prosciutto strips were wrapped loosely around the middle of them.


They were then sprayed with coconut oil.  You could use olive oil,
but the coconut oil flavours the prosciutto and asparagus beautifully.


Heat up your barbecue, or in my case, a teppan, or even a non stick frying pan until it is hot.


Cook 2 minutes, then turn over and cook another 2 minutes.
 
 
Remove and place on a warmed plate for serving.
 
By now, our drinks were finished, my husband was awake
and our pork in the oven,
was cooked to perfection.
 
What a pleasant Friday evening and I thank Kath for sharing this recipe with me.
 
Buon appetito, if you have a great asparagus recipe, please share it with me.  Merryn

Monday 21 October 2013

18th Birthday Cake

It is finally the day of Dylan's 18th Birthday Party!


Dylan's favourite hobbies revolve around a computer, so this cake was the perfect choice!


Here is Dylan surrounded by his siblings and closest friends.
When a young man turns 18, there is so much to celebrate.

Happy 18th Birthday Dylan, with all my love xxx


Wednesday 2 October 2013

What happened in our September Garden ...

Now it is October, the time of warmer weather, strong winds and Spring growth.
We are picking broad beans by the dozen ...


... and Snow peas by their strings.


Strawberries are so sweetly inviting -


While cumquats are such sweet things!


The Papaya seemed to take months to ripen,
but we did enjoy some green papaya salad while waiting! 
I prefer Papaya thinly sliced and sprinkled with a little lime or lemon juice to balance it's acidity.
 
 
This gorgeous little bay tree is over 10 years old.
It has been repotted a few times and has now been given a permanent home in the ground outside my kitchen window.  I encourage everybody to keep a bay tree.  The freshness of the bay leaves is far superior to any dried variety and you notice the improved flavour in your dishes.


 This Peach tree has over 200 peaches steadily growing.
They will be ready to start picking in 2 weeks and will continue to ripen for the next 2 months.
Note the bird and flying fox mesh protection
Installing plumbers pipe over short wooden pegs in the ground,
then wrapping it with this net is wonderful protection.
This system can be moved around to different fruit trees as their fruit grows. 


Our first olive buds after 3 years of growing Olive trees. This one is our favourite, a Kalamata.
There is always something to look forward too when you enjoy gardening!


I keep an edible Curry Tree(murraya koenigii) on a pot on my balcony where it gets lots of sun.
It is so easy to pick a sprig with 12 leaves on it whenever needed, everyone should have one.
The seed pods are poisonous, but the leaves are delicious.
 
 
 This coriander plant is in full seed.
When you let a coriander plant go to seed it will continue to self seed (propagate) for the next year.
Plus, there is the advantage of all of those seeds for your curry pastes.
 
 
I trust that all of my fellow garden share collective members are enjoying this gardening time in the sun and I so look forward to seeing everyone else's gardens.
Enjoy, the Earth!  Kind regards, Merryn
 
 
coriander seeds