Showing posts with label sugar.. Show all posts

Tuesday, 9 September 2014

Lemon Myrtle Biscuits - my unique creation


There is a lovely retired man who walks his terrier late every afternoon past my home.
We have had many pleasant conversations and I know his dog's name is Tubby.
I asked my husband what the man's name was and MOH (my other half) replied "I can't remember if it is Bill or Ted as when he told me I remembered Bill and Ted for name association ".
I therefore assumed it had to be Bill.
Yesterday we were having a very long discussion on the footpath and I invited Bill to look at our tiled floor as he was considering re tiling his floors.  His wife, who ambled along later came to introduce herself, then MOH joined us as well.

I bravely referred to Bill by name during this conversation, only to find his wife slapped him on the shoulder and said, loudly, Ted here ...

See the little lemon myrtle specks in these cookies.


Outside of my kitchen window is a beautiful Lemon Myrtle Tree which has a gorgeous and strong fragrance.  The leaves are divine in both tea, cookies, yoghurt and cakes.  The flowers are delightful.

Soft, light mixture.
Roll the balls into walnut sized pieces.


Lightly golden, firm and slightly crispy.

(P.S.  Next time I see Ted I will explain why I called him Bill by accident.)

Lemon Myrtle Cookies

1 lemon, grated zest and juice
3/4 teaspoon dried lemon myrtle leaves
(I dry 2 leaves in the microwave for this then crumble them in the coffee grinder)
1 cup castor sugar
pinch of salt
120g unsalted butter, softened but not melted
1 1/2  tablespoons  olive oil
2 eggs
1 egg yolk
1 tablespoon vanilla extract
2 cups plain flour
1 cup fine semolina
1 teaspoon baking powder
1/4 teaspoon bicarb soda             

1/2 cup extra castor sugar for dipping

Whisk together in an electric mixer; the lemon zest, lemon myrtle, sugar and salt, beat for 1 minute to help the flavours permeate the sugar.  
Add the butter, olive oil and lemon juice then beat until white and fluffy.
Add the eggs one at a time, then the egg yolk, beating until well combined.  Scrape down the bowl with a spatula and whisk again until it looks shiny.  Add the vanilla extract and mix through.
Remove from mixer, add the flour, semolina, baking powder and bicarb of soda then mix with a wooden spoon lightly, until just combined.
Cover tightly with glad wrap and refrigerate for one hour.
Preheat oven to 170 Celsius (340 Fahreneit) and cover two trays with silicon or baking paper.
Roll pices of dough into balls roughly the size of walnuts, dip into the extra castor sugar and place slightly apart on the baking trays.
Bake in the preheated oven for 12 minutes until lightly golden.
Leave on trays for 2 minutes then remove to a wire rack to cool.

Bon appetito, enjoy Merryn

Monday, 25 August 2014

Super Simple Strawberry Jam

Last weekend I made a last minute emergency dash to pick up our apprentice from Newcastle.
I knew it was possible that I would have to collect him, despite having arrangements in place.
So in lieu of being invited to (a) a friend's tupperware party and (b) champagne later with my neighbour, I collected my Mother for company and headed off to Newcastle.
It would have been nice to have had more notice so we could have spent the day shopping in Newcastle;  but nevertheless at 3pm on arrival in Newcastle it was not worth the rush to spend one hour speed shopping at Charlestown or Greenhills.


Leaving Newcastle, with Sam in tow we noticed a wonderful road side stall near Morpeth sporting big, fresh, lovely strawberries.  We did some other fresh vegetable and fruit shopping too so we felt like the trip was worthwhile after all (no offence to Sam).


Strawberries have just come into season and they have been beautiful.

It was definitely time to make Strawberry Jam.

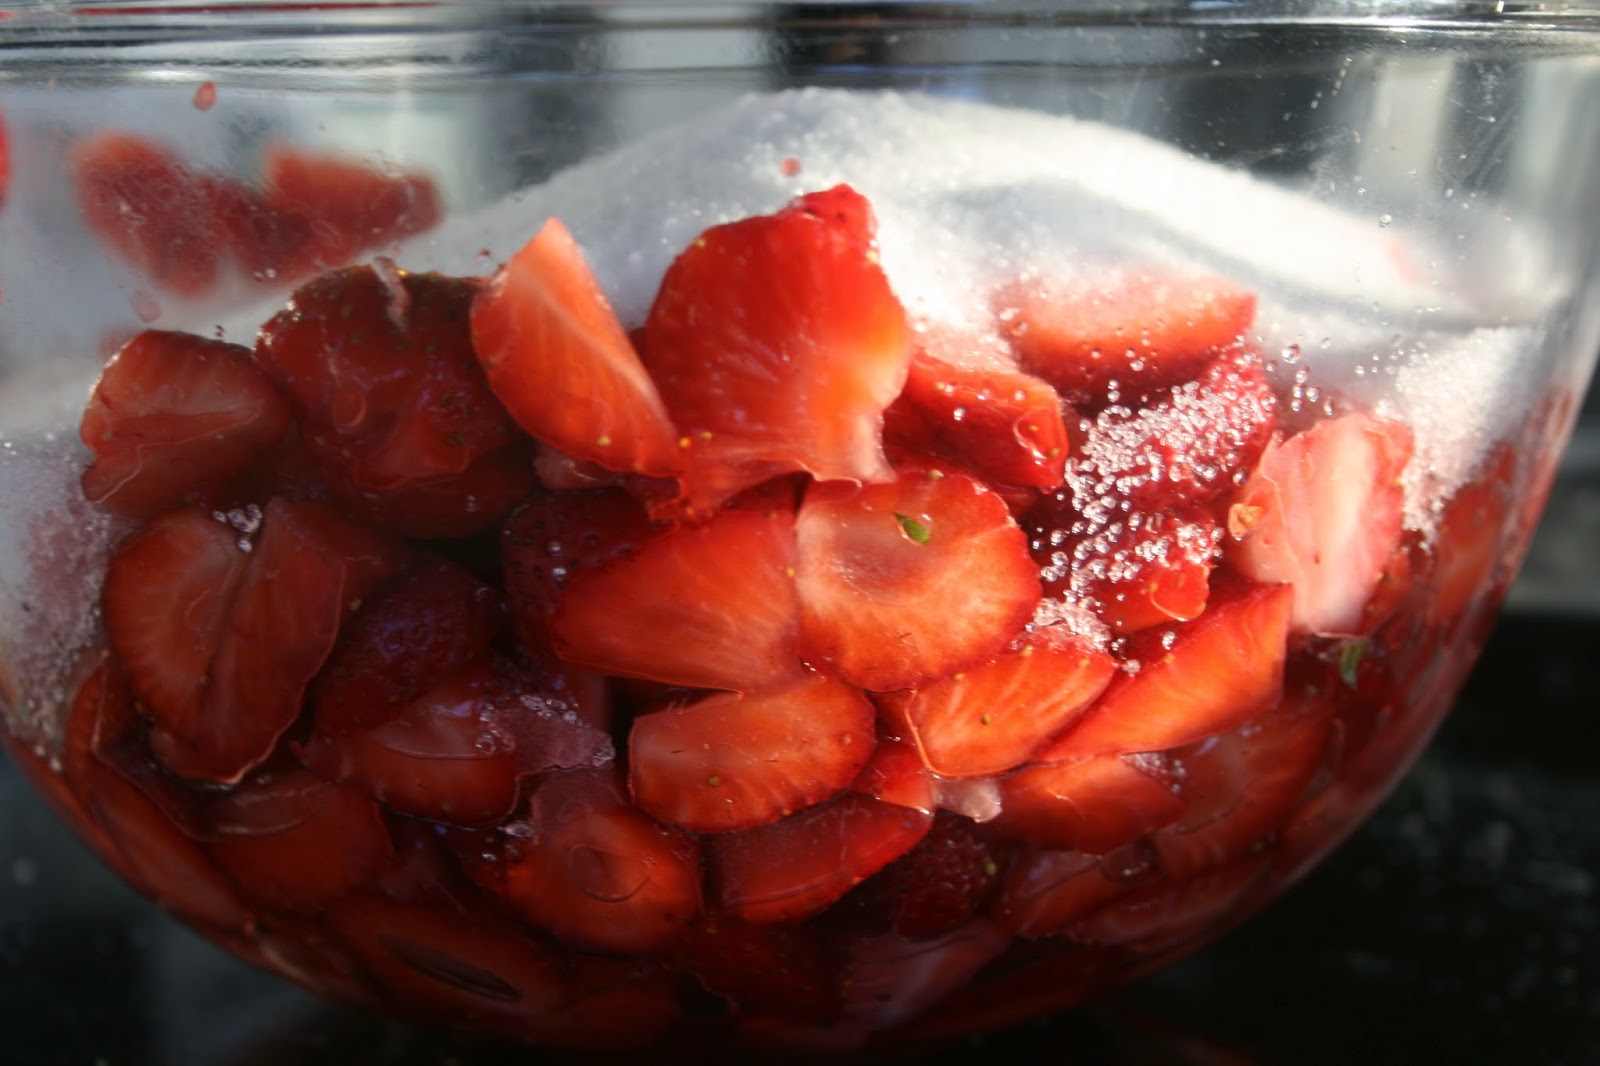
Firstly I weighed 1.3 kilos of strawberries, rinsed, hulled and roughly sliced them into a big bowl.
I weighed them again to find it had reduced to 1 kilo of lovely fresh strawberries.


Squeeze over the juice of two organic lemons, removing the seeds.
Let rest for 30 minutes.
Then weigh 1 kilo of white sugar and add to the strawberry/lemon mixture.


Pour into a big non reactive saucepan (I used a non stick pan)
and bring to a boil, stirring constantly until the sugar is dissolved.
Place on lid and let cook away, on a high simmer for about 30 minutes.


Pour into sterilised jars, seal while hot and label with name and date.
This Strawberry Jam will keep for 12 months.
You can store it in your pantry, but once open it must be stored in the fridge.
Make sure you give some jam to friends, to share the strawberry joy!

To test if your jam is cooked enough, place a ceramic saucer in the freezer.
After 30 minutes put a small spoonful onto the saucer, place back in freezer
then take out and push with your finger.  If little wrinkles occur then the jam is ready.
If not, cook for another 5 minutes and test again.


N.B.  Sterilise jars by placing clean glass ones into your oven and turn to 150C.
Then turn off and leave jars inside while the jam is cooking.
I place the lids in a bowl and pour over boiling water, leaving for 10 minutes.

Bon Appetitio, Enjoy, Merryn.

Monday, 1 April 2013

Home made Sriracha

Stunning Sriracha made at home

Fermented Chilli Paste  


Sriracha is a very versatile, long lasting, hot and delicious fermented chilli paste.  
During the warmer months we have an abundance of chillies and after chilli jam, bottled whole chillies, dried hanging chillies and simply frozen chillies are processed, there is still an abundance of these gorgeous, fiery red chillies.


After reading The Hungry Tigress  http://hungrytigress.com/2012/10/fermented-sriracha/  post on Sriracha (pronunced 'see-ray-shah') I was inspired to make some of this delicious fermented chilli paste.
I weighed 650grams of freshly picked hot chillies for this recipe then washed and dried them.


After cutting off the stem and removing any soft chillies, I put them in the blender to chop them.


When they were processed finely, I added three cloves of minced fresh garlic and 2 tablespoons fine sea salt.


This is how they look at the start of the process.
Cover with plastic film, leave at room temperature and stir once or twice each day for 5 - 7 days.


After two days, they look a little more dull.


After four days, they appear less shiny.


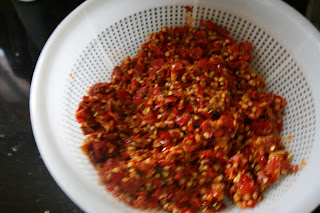
At the end of seven days, at approximately 27 degrees Celcius each day, the Sriracha looks like this :-
and has a slightly sour smell.


At this time place the chillies into a sieve and extract as much liquid as possible from them by pushing down on the chillies to remove the juices that have been extracted.


 Then place chillies into a food processor with 1/4 cup white vinegar and 2 tablespoons of caster sugar.


Process until a paste forms and store in a sterilised jar in the refrigerator.
This paste will last for months and is useful for many purposes.  

Add Sriracha to mayonnaise for a tasty condiment.  
Use alone with barbecued grilled meats for a hot flavour burst.  
Mix a little with scrambled eggs before cooking.  
Use in marinades for chicken with soy sauce, garlic, shao hsing wine and sugar.
Mix with butter and freeze in a log shape to offer with grilled steaks.
Add to fried rice.
Use in place of sambal oelek in recipes.

The uses of Siracha are endless and you will appreciate a jar, or two of this in your kitchen, and at work, as well as in your mother's kitchen for when you are visiting.